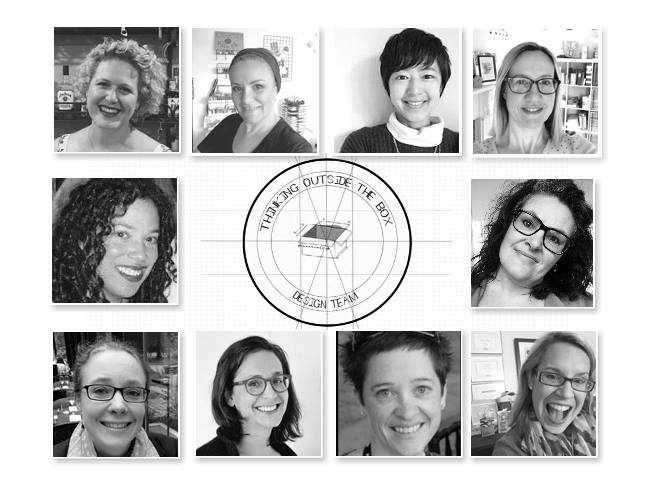
Welcome to this months Thinking Outside of the Box Blog Hop and tutorial! Each month the Thinking Outside of the Box Design Team will be bringing you fabulous projects that are all to do with boxes, bags and packaging! PLUS each post will have a tutorial for the project so that you can join in the fun too and make your own version! I can’t tell you how excited I am to be on this fabulous team with demonstrators from EVERY country that Stampin’ Up! does business in! Here we all are:
So it’s been a long time between posts huh? 3 months in fact…life just keeps getting in the way! But I am here for this months Thinking Outside the Box project and it is a super cute project that makes me smile every time I look at it!
I actually have to be honest and tell you that my 11 year old daughter did most of the work on this project so lets call her this months Guest Designer 😉
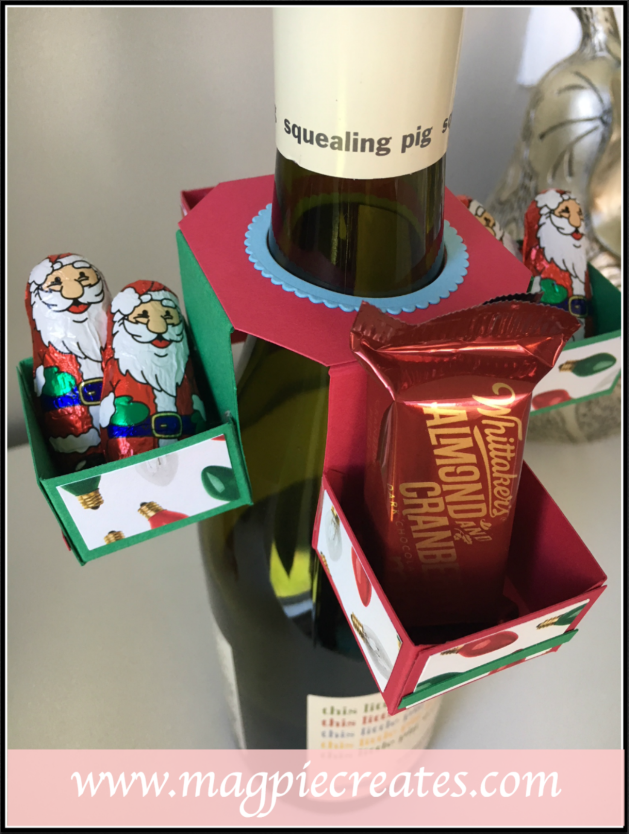
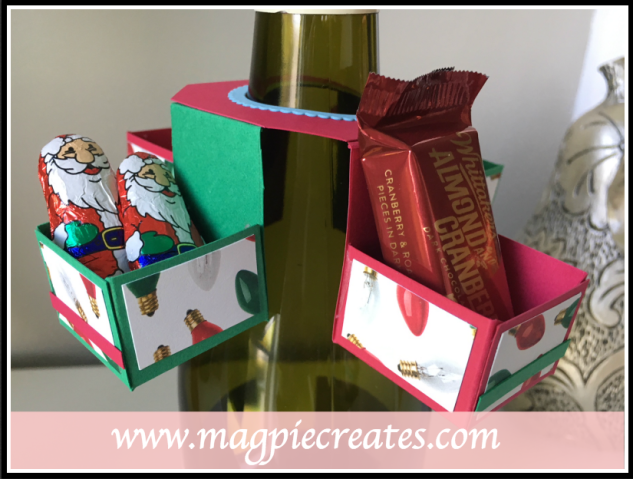
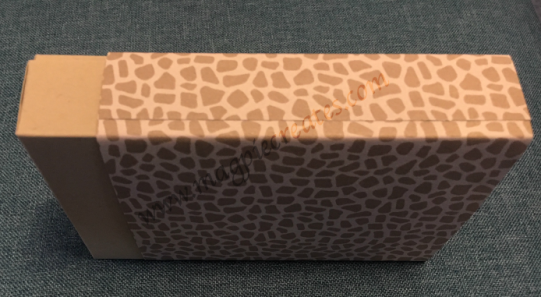
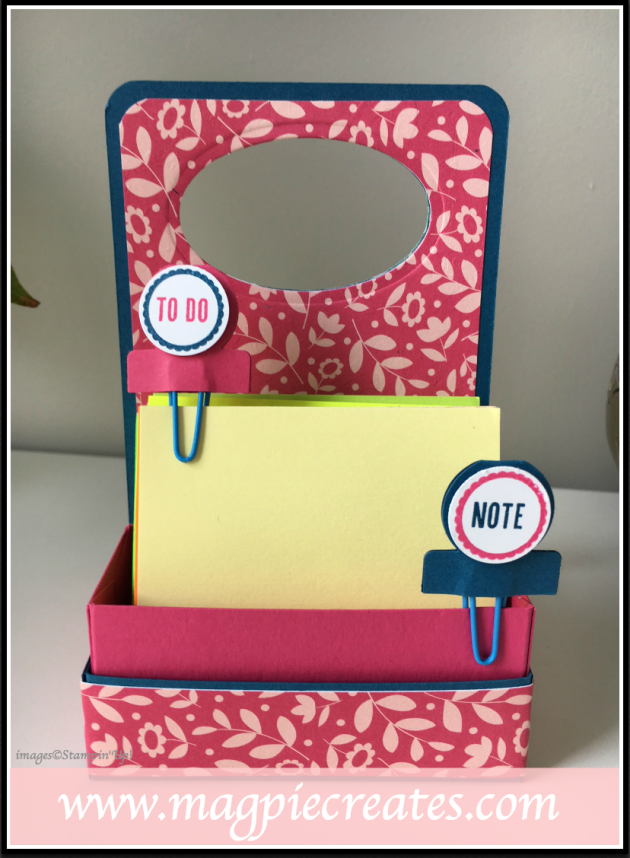
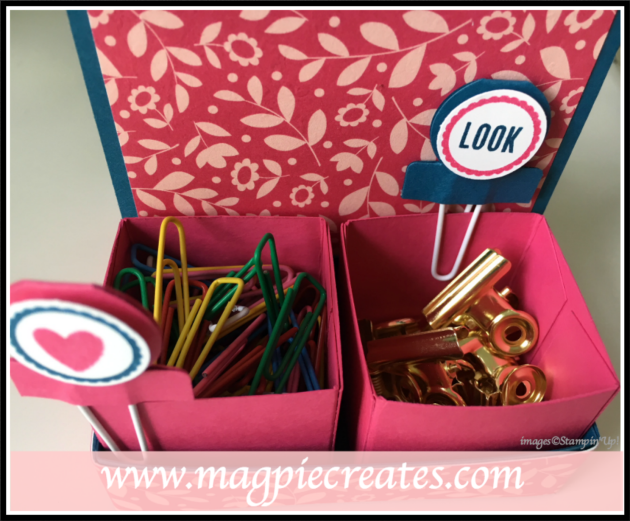
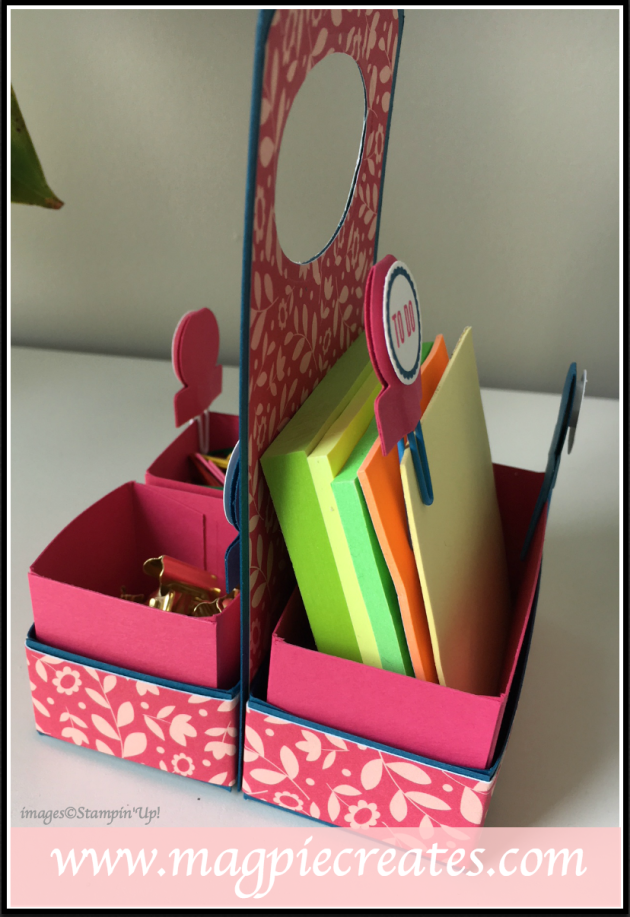
How cute is this bottle carousel?! The boxes are actually the perfect size for Ferrero Rocher chocolates (or similar) but I forgot to get some when I was at the shops so had to use what I had on hand! Miss 11 kept her design deliberately simple with just some DSP and strips of cardstock – I do like how she alternated the colours of box though – just like a ferris wheel she said.
The great thing about this carousel is that it is super easy to create and because it is small and really novel, it doesn’t really need much decorating or embellishing!
HERE’S HOW TO MAKE YOUR OWN BOTTLE CAROUSEL:
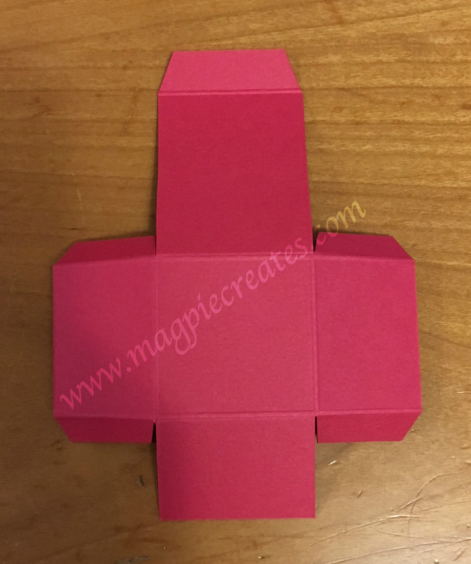
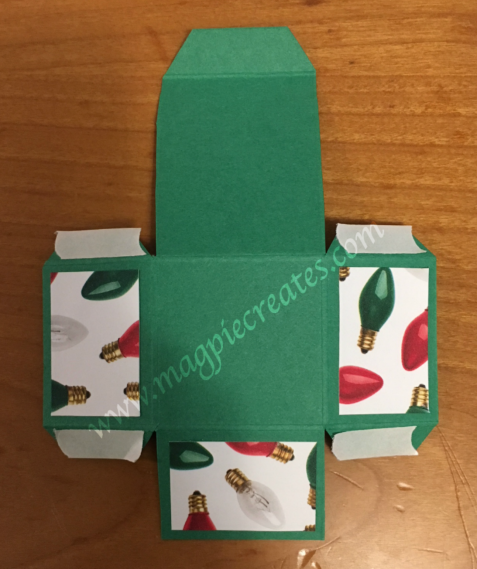
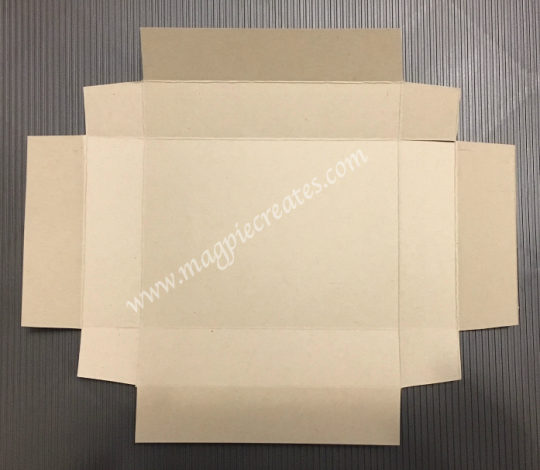
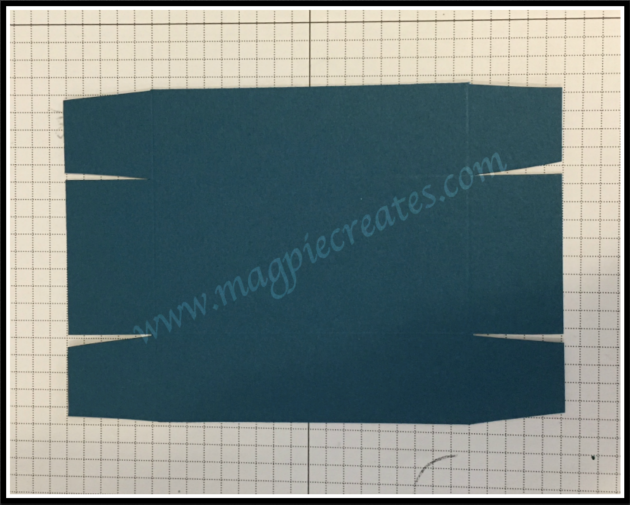
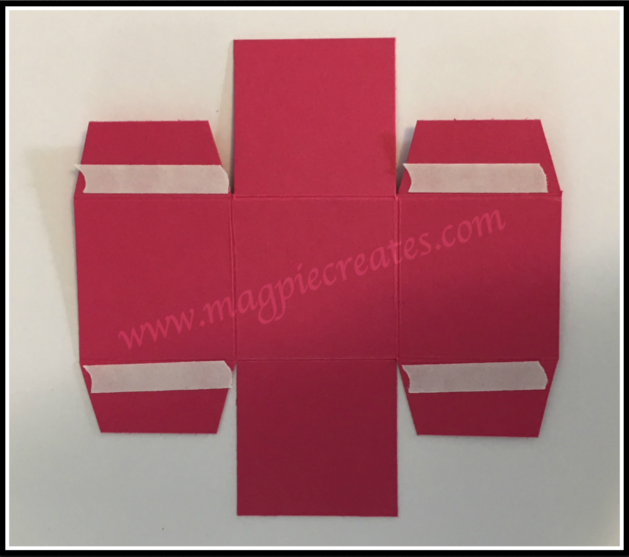
For the boxes cut 4 pieces of cardstock measuring 8.5cm x 11.5cm
Score the Long Side at 1cm, 4.5cm and 9cm
Score the Short Side at 2.5cm and 6cm
Fold along score lines and then cut as shown below:
If decorating with Designer Series Paper, cut your DSP to 3cm x 2cm (you will need 12 pieces for all 4 boxes)
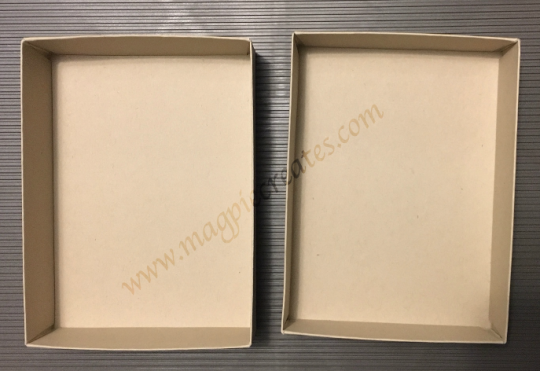
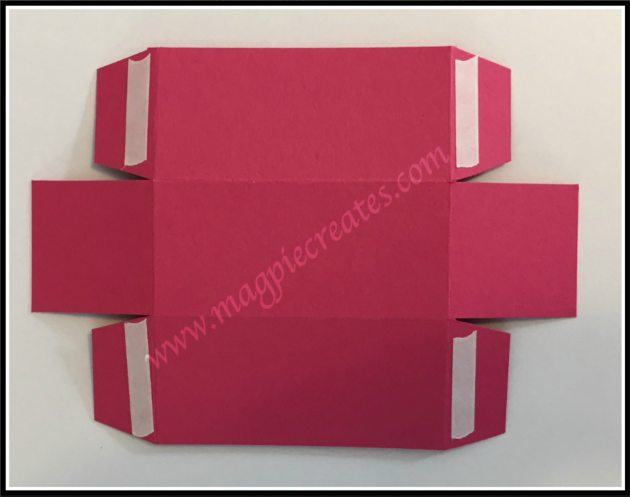
Adhere DSP to box
Add adhesive to tabs and outermost flaps and assemble box.
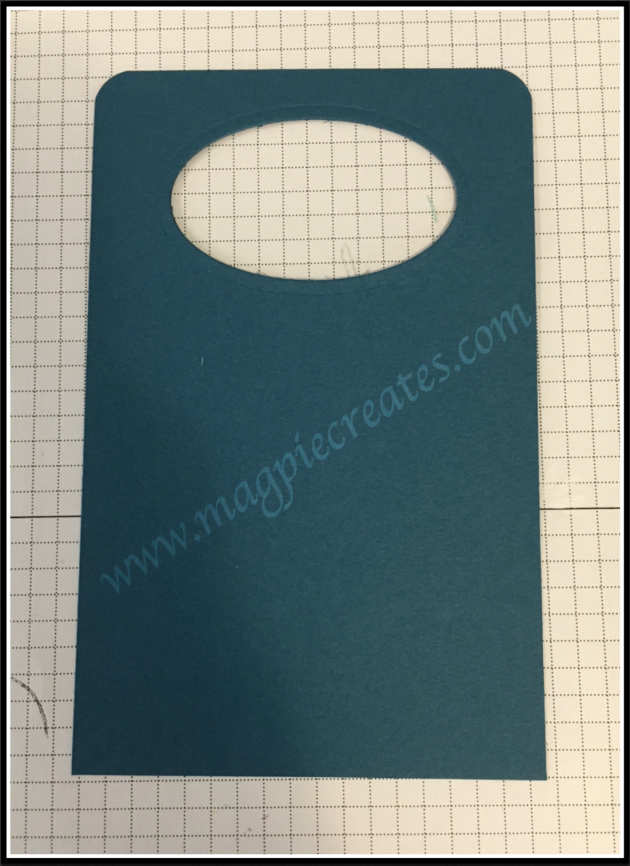
For the neck piece, cut 1 piece of cardstock measuring 6cm x 6cm
Measure 1.2cm down from each corner and mark with pencil
Cut along the diagonal between your pencil marks
Punch a circle in the centre
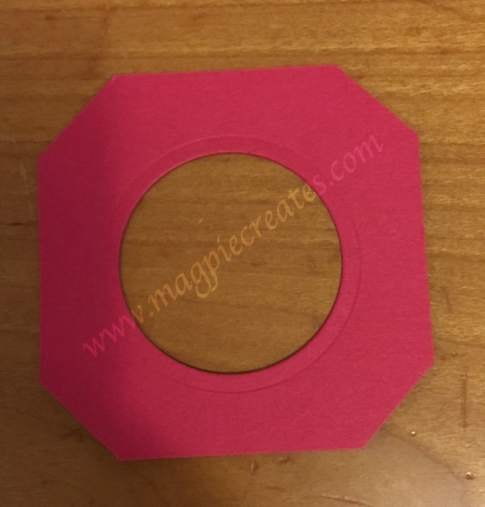
Decorate the centre circle any way you wish, then adhere your 4 boxes to each side.
Materials
Cardstock: Lovely Lipstick, Call Me Clover, Balmy Blue, All Is Bright DSP
Other: Layering Circles Thinlits, Big Shot
Well that’s it from me, but be sure to head around the globe and check out what the rest of the design team have in store for you – remember we each have a free tutorial in our posts!
Tanja Kolar – Germany
Carrie Bates – UK
Annette Elias – Netherlands
Sharlene Meyer – New Zealand
Beate Wacker – Austria
Aude Barbara – France


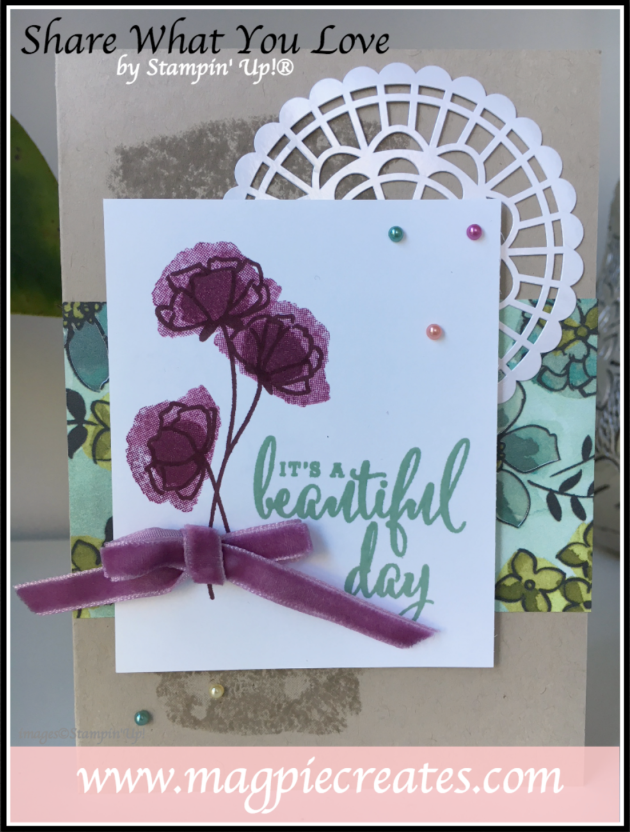
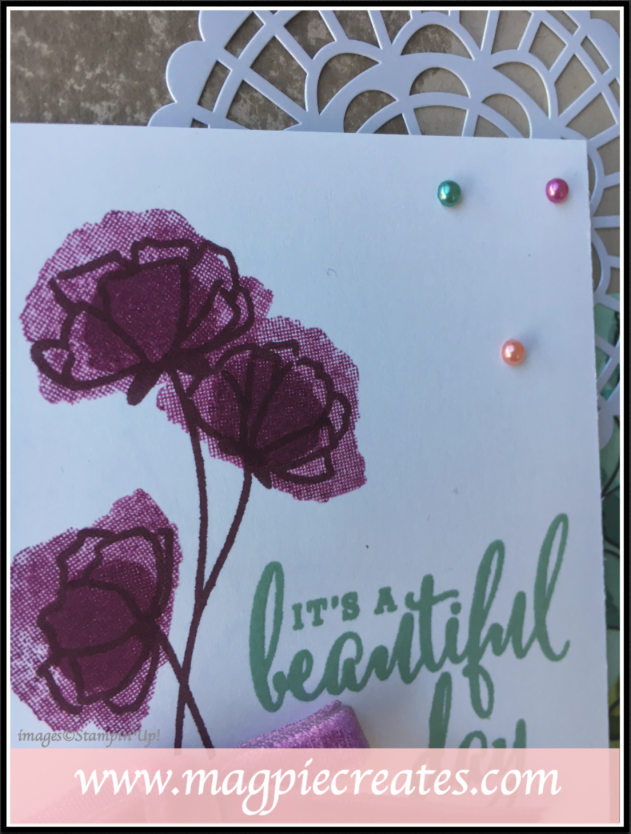

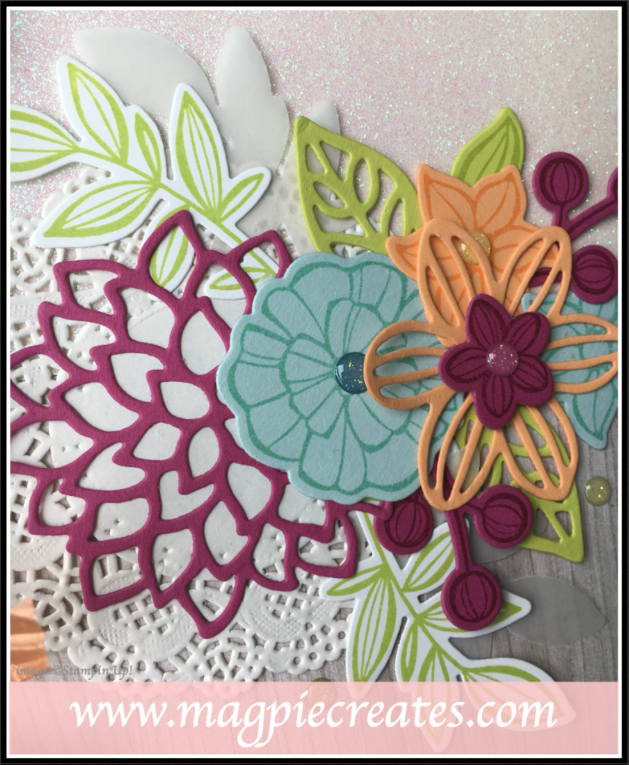
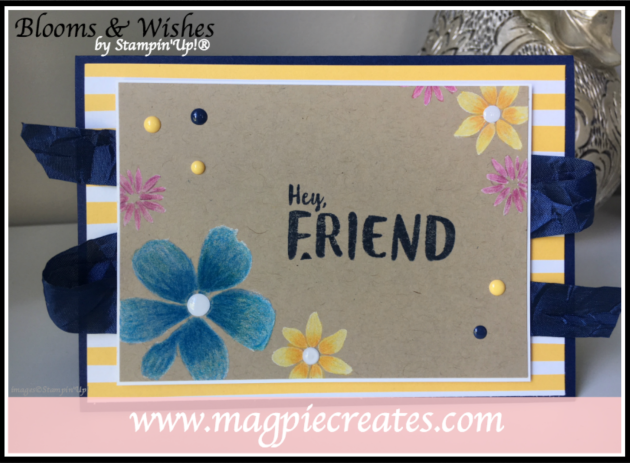
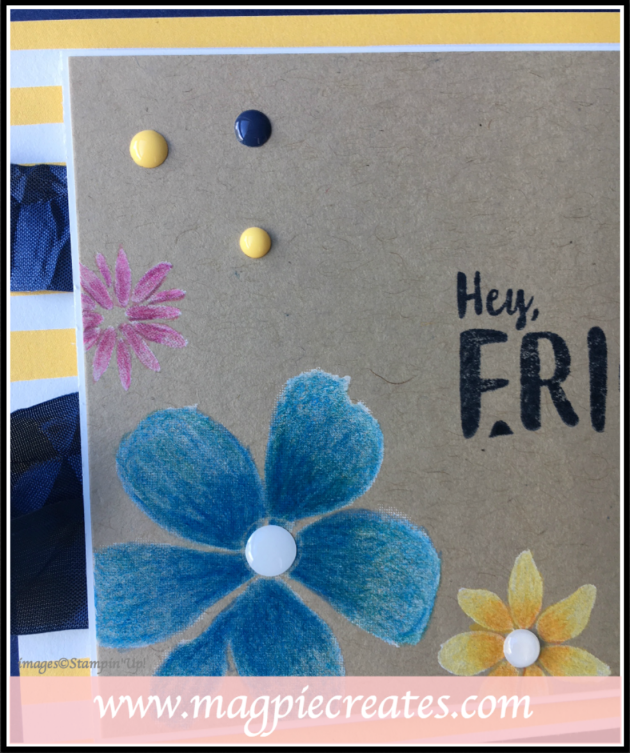
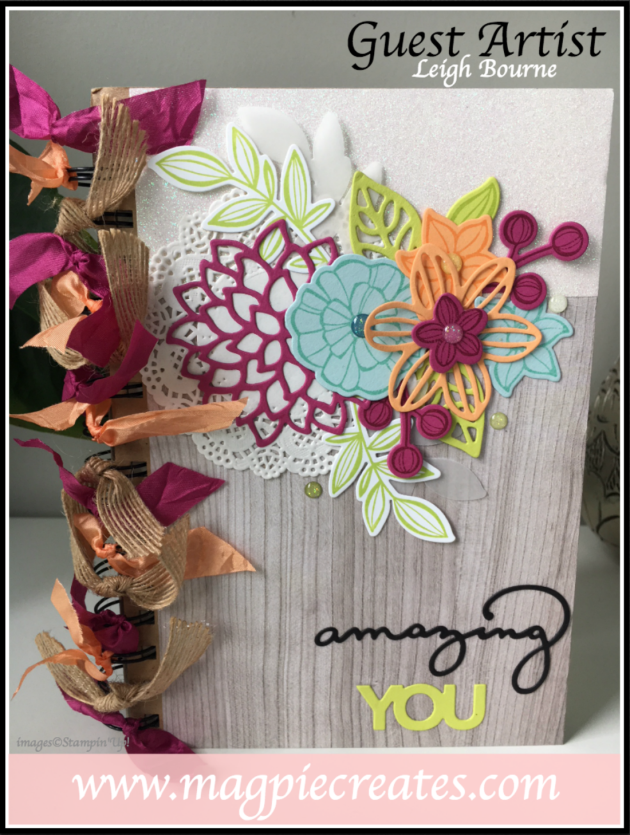 I love the colour combination Leigh chose and the way she has layered up all the different layers and elements – Doilies, Vellum, stamped images, Glimmer Paper and Glitter Enamel Dots, then finished off with the beautiful Burlap Ribbon and Crinkled Seam Binding Ribbon along the rings!